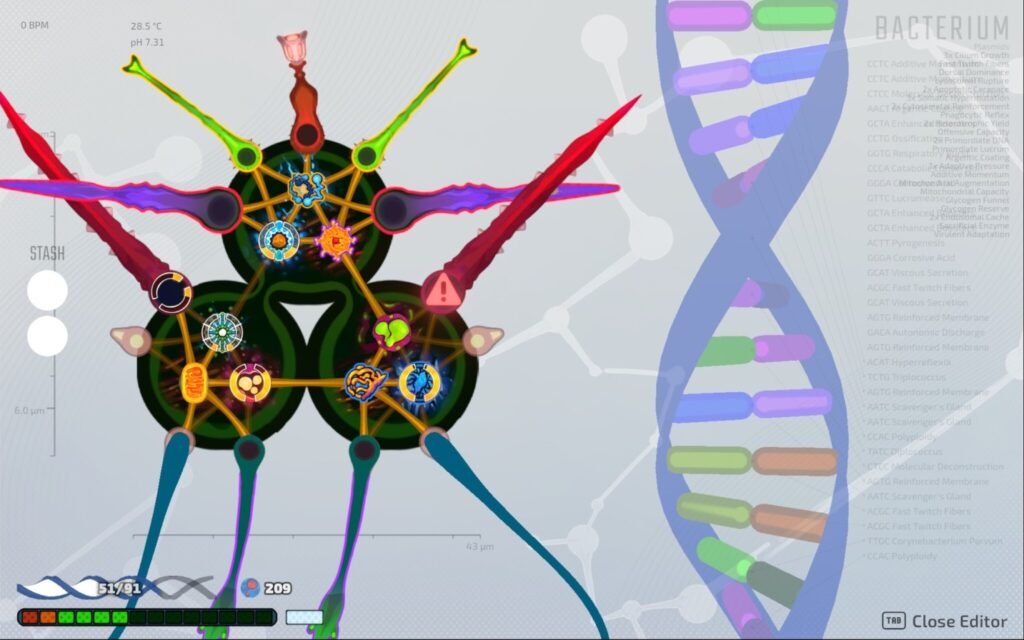
So, you’ve beaten the Heart boss and unlocked the first ending in Pathogenic. But there’s another area hidden in the game: the Brain, which leads to the second ending.
Getting there isn’t exactly straightforward. You’ll need to find secret rooms, enter a hidden arrow code, collect four special shapes, and defeat the Heart boss again. There are also a few things that depend on your run, so don’t be surprised if the secret rooms appear in different locations.
Here’s everything you need to know to unlock the Brain, including the locations of the four shapes and some useful tricks to make the process easier.
How to Unlock the Brain in Pathogenic
Before you start looking for secret rooms, you must defeat the Heart boss at least once to unlock the first ending.
The code is:
Right → Up → Down → Up → Right → Left
Remember this combination, as you’ll need it to open the hidden rooms throughout the game.
Important: Always use the arrow keys to enter the code, NOT WASD.
Step 1: Find the Secret Rooms
Your next task is to find hidden rooms marked with sigils (symbols) on the walls. These rooms can appear throughout the different stages before the Heart.
The locations aren’t completely fixed, so you may find them in different areas depending on your run. However, there are a few things that make finding them easier.
When entering a room for the first time, pay attention to the wall decorations. Secret room entrances have decorations that look similar to the normal room entrances on that particular floor, but they appear on a wall without an actual opening.
Shoot or attack that section of the wall to reveal the hidden entrance. You can also listen for a squelching sound when hitting a suspicious wall, which is another clue that you’ve found the right spot.
Some secret rooms may also appear around the first few rooms or near the boss room, so check the walls carefully before moving on.
Once you find a room containing sigils, stand in front of them and enter the arrow code from the first ending using the arrow keys:
Right → Up → Down → Up → Right → Left
This will open a new vein on the wall and give you access to the hidden room.
Step 2: Get the Chemoreceptor Antenna
The first sigil room you successfully open contains a special organelle called the Chemoreceptor Antenna.
This is extremely useful because it helps you locate the remaining hidden rooms. When overcharged, the antenna unfolds and points towards the nearest secret chamber.
You don’t necessarily have to find this organelle in the Skin stage. It can appear in the first sigil room you discover, which means you might find it in the Intestines, Stomach, or even the Lungs.
If you miss it in the Skin, don’t immediately restart your run. You can still find it elsewhere.
Once you have the antenna, use it whenever you need help locating another secret room.
Step 3: Collect All Four Shapes
Now comes the important part. You need to collect four special yellow shapes hidden inside the secret veins.
Each of these shapes is located in a different hidden room, and you’ll need all four to open the entrance to the Brain.
Here are the places you should check:
1. First Shape – Secret Vein
The first shape is found inside the first secret vein you manage to open after discovering the Chemoreceptor Antenna.
Its location isn’t tied to one particular stage. It can appear in different areas, although the Stomach or earlier stages are common places to find it.
Opening this vein costs 2 maximum HP, so make sure you have enough health before entering.
One thing to keep in mind is that veins don’t always spawn in the Intestines after defeating the boss. There seems to be a condition related to how much health damage you take during the boss fight. Avoiding health damage (armor damage doesn’t seem to count) may improve your chances of getting one, but it isn’t guaranteed.
If the vein doesn’t appear in the Intestines, don’t give up. You can still find the required item in another secret vein, including one in the Stomach.
2. Second Shape – Stomach
The second shape is hidden somewhere in the Stomach.
Unlike the other locations, the sigils for this room are completely hidden, so you won’t be able to find it just by looking for symbols on the walls.
This is where the Chemoreceptor Antenna becomes particularly useful. Overcharge it to help locate the hidden chamber.
If you don’t have the antenna, you can try checking suspicious walls manually. Keep attacking walls and listen for the squelching sound that indicates a hidden entrance.
You can also use the arrow code in different rooms to reveal nearby secret entrances, although doing this repeatedly will cost you 1 HP per attempt.
Tip: Don’t skip the Stomach secret room. You need its shape to unlock the Brain.
3. Third Shape – Liver
The third shape is located in the Liver, inside the Collector’s room.
Once you find the sigils, enter the arrow code to open the hidden vein. However, accessing this puzzle requires 40 Cores.
There is also an alternative involving the Collector. You can kill the Collector to access the room without paying the usual cost, but there are conflicting reports about whether this removes the 40-Core requirement in every situation. I recommend keeping 40 Cores ready rather than relying on this method.
Also, remember that killing the Collector means losing access to its services for the rest of your run.
4. Fourth Shape – Lungs
The final shape is found in one of the regular rooms in the Lungs.
Look carefully for the sigils on the walls, enter the arrow code, and open the hidden vein.
This one is relatively straightforward compared to the Stomach because the sigils aren’t completely hidden.
Once you collect the shape, you’ll have all four pieces required to open the Brain.
Step 4: Remember Which Direction Each Shape Represents
This is something you should pay attention to while collecting the four shapes.
Each shape corresponds to a different arrow key, but the combination can change from run to run.
Thankfully, the game actually gives you a clue when you pick up a shape. Its corresponding direction is shown in the middle of the room, and the collected shapes are also displayed in a small directional cross in the lower-right corner of your screen.
Make sure to remember which shape belongs to which direction.
I’d recommend noting down all four directions as you collect them. This will save you from guessing when you reach the final door.
Step 5: Open the Brain Entrance
Once you’ve collected all four yellow shapes, return to the Heart and defeat the boss again in the same run.
After defeating the Heart boss, head towards the top of the room. You will find a line of grey shapes that looks similar to the yellow shapes you collected earlier.
Stand in front of these grey shapes and use the arrow keys to insert your four collected shapes in their corresponding directions.
For example, if one shape represents the Up arrow, press Up when inserting that particular shape.
If you’ve noted down the directions correctly, the barrier should finally open, giving you access to the Brain and the game’s second ending.
Forgot which shape belongs to which direction?
You can figure it out by pressing the arrow keys one at a time and checking which shape each key represents. However, failed inputs cost 1 HP, so make sure you have enough health before experimenting.
And that’s it! You’ve finally made it into the Brain.
Useful Tips for Getting into the Brain
There are a few things worth knowing before attempting this whole process. These can save you a lot of time, especially if you’re struggling to find the hidden veins.
- Check every wall: Secret room entrances are often hidden behind decorations that look similar to normal room entrances. Shoot or attack suspicious walls, especially during your first visit to a room.
- Listen for the squelch: If a wall makes a squelching sound when attacked but doesn’t open, keep trying. It may be a hidden vein containing one of the shapes.
- Use the Chemoreceptor Antenna: Overcharge it whenever you’re having trouble locating a secret room. It points towards the nearest hidden chamber.
- Don’t restart if you miss the Skin secret room: The Chemoreceptor Antenna and the other required items can appear in different stages. You can even find multiple required items in the Stomach.
- Keep some HP available: Entering the hidden veins and testing incorrect arrow inputs can cost health. The Liver puzzle also requires 40 Cores unless you manage to use the Collector alternative.
- Try Endless Mode: If you’re struggling to complete everything in a normal run, Endless Mode can be a good option. You can use a strong build and take on the bosses more easily.
What Happens Inside the Brain?
The Brain is essentially a boss rush. You’ll have to fight through multiple encounters, but there’s a pretty nice reward waiting for you.
Each room drops a Legendary organelle, and the upgrade rooms also contain Legendary organelles. This means you can get some really powerful upgrades while progressing through the Brain.
There’s also another rarity above Legendary: Mythic.
You can create a Mythic organelle by combining two Legendary organelles of the same type. A Legendary Enhancer can also be used to upgrade a Legendary organelle to Mythic.
One exception is Legendary Eternal organelles. They cannot be upgraded to Mythic, although their stats are the same either way.
So, if you’re looking for powerful organelles, the Brain is definitely worth exploring.
Final Thoughts
Getting into the Brain is a pretty complicated process, especially because the secret room locations and some of the veins can vary between runs. Just remember to collect the Chemoreceptor Antenna, find all four yellow shapes, and note down their corresponding directions.
One last thing: don’t treat the Brain entrance as permanently unlocked. You’ll need to collect the required shapes and complete the Heart boss fight as part of your run. If you die inside the Brain, be prepared to repeat the unlocking process.
Good luck, and hopefully the Brain won’t give you more trouble than the puzzle itself!